Teach Pendant and Controller Multilingual Translation and Upgrade Guide
When an Official Translation Package Exists
Teach Pendant Interface Language Upgrade
Prepare Files: Copy the official language translation package (.zip format) to the root directory of a USB drive.
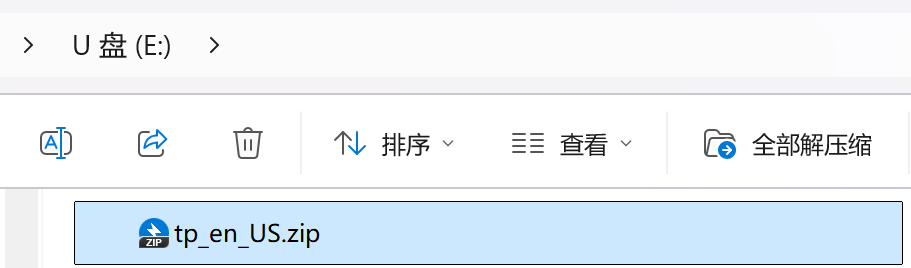
Perform Upgrade:
- Insert the USB drive into the teach pendant USB port.
- Navigate to the teach pendant interface: Settings → System Settings → Version Upgrade, click [Detect Upgrade].
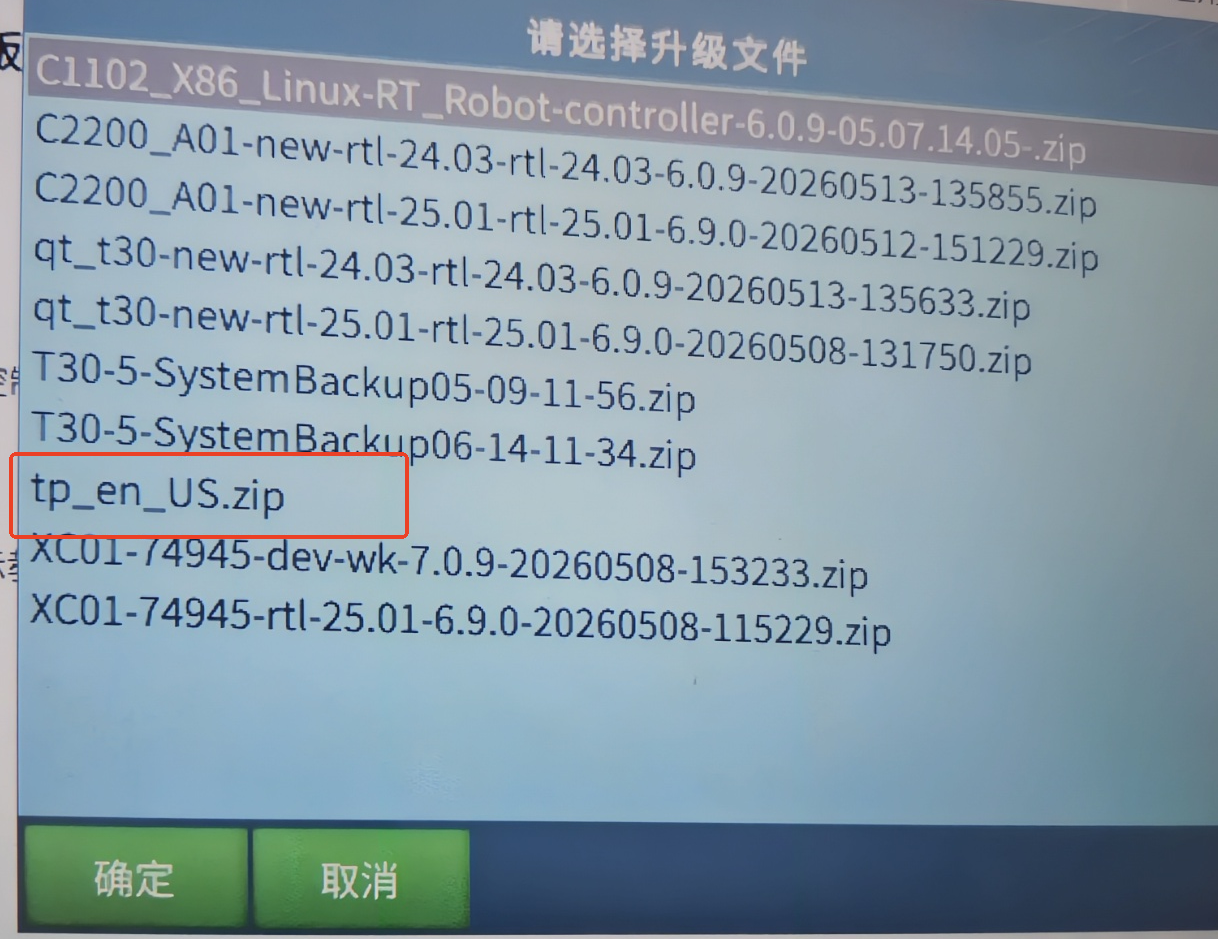
- In the file selection dialog, select the corresponding language package (e.g., tp_en_US.zip), click [OK] to begin the upgrade.
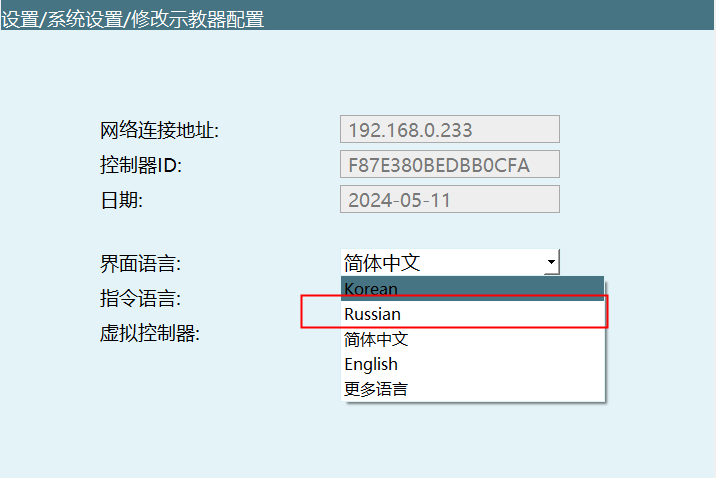
Switch Language: After the upgrade is complete, navigate to Settings → Teach Pendant Configuration, click [Modify], select the target language from the "Interface Language" and "Instruction Language" dropdown lists, save and restart the teach pendant to take effect.
Controller Message Language Configuration (Requires Customer Self-Translation)
Note: The controller message library uses JSON format. Customers need to translate the key-value content themselves.
Export Configuration: Export the current controller configuration from the teach pendant. After extraction, the following basic language files are included by default:
- msg_languages_Chinese.json
- msg_languages_English.json
- msg_languages_Korean.json
Translation Files:
- Copy any reference file (e.g., msg_languages_Chinese.json) and rename it to the target language format: msg_languages_***.json (replace *** with the English language name, e.g., Russian for Russian).
- Use a professional text editor (VS Code, Notepad++ recommended) to open the file and translate the value field content, keeping the JSON structure and key names (key) unchanged.
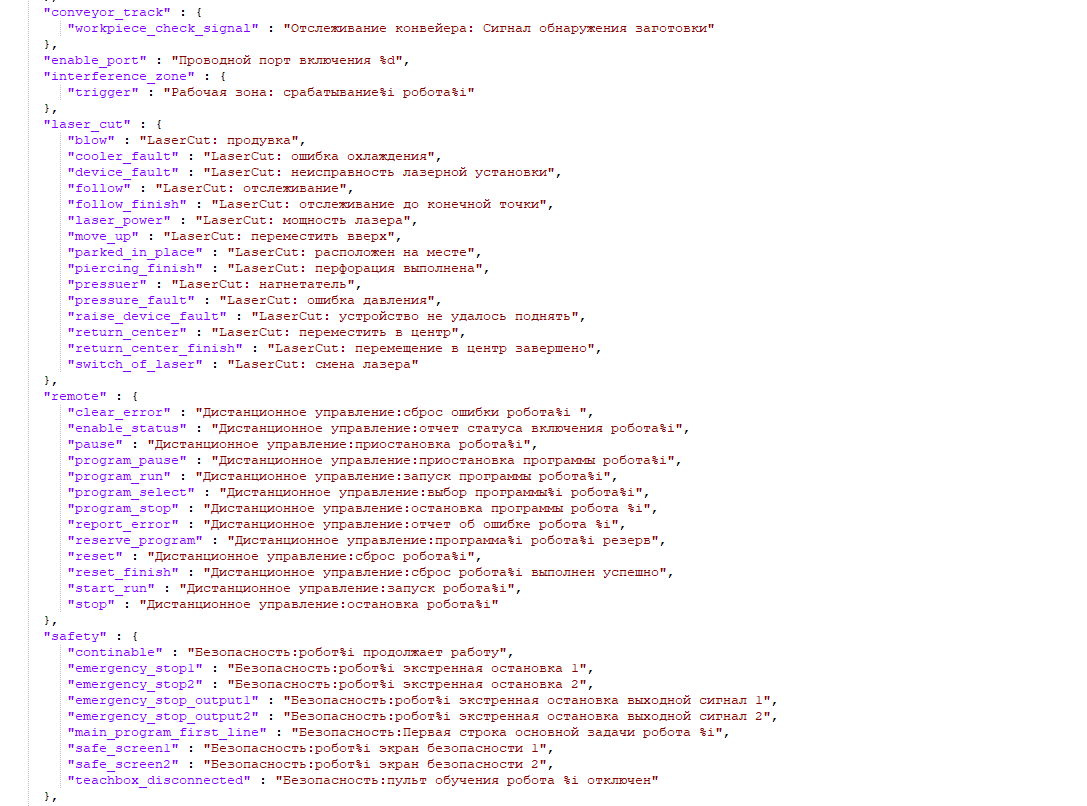
Import Configuration: Place the translated .json file back into the configuration folder, package it, and import the controller configuration through the teach pendant.
Activate Language: After successful import, navigate to Settings → System Settings → Teach Pendant Configuration. The dropdown list will display the newly added language option. Select the corresponding language and restart the system to complete the controller message language switch.
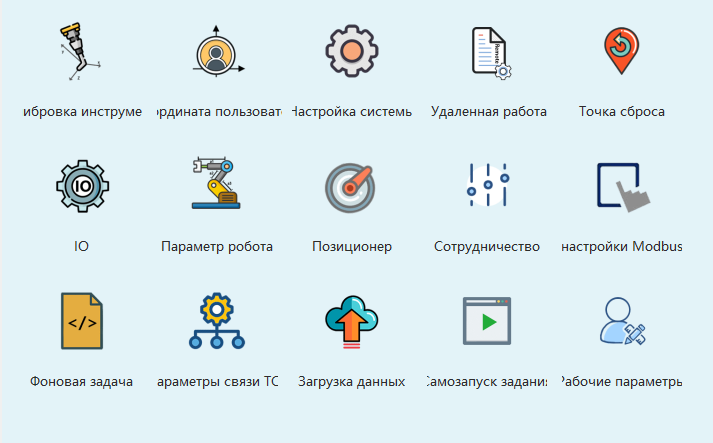
Note: If the corresponding interface .qm file is not upgraded simultaneously, the system may prompt "Missing corresponding .qm file". Please ensure the interface language package has been fully upgraded.
When No Translation Package Exists (Customer Fully Self-Translated)
Environment Preparation: Install Qt Linguist
- Download and install the Qt 5.7.0 development environment: qt-opensource-windows-x86-mingw530-5.7.0.exe
- Follow the prompts to complete the installation (after registering a Qt account, you can skip login or continue after registration). Component selection can use defaults. After installation, launch the Qt Linguist tool.
Detailed Steps:
QT software installed on Windows: qt-opensource-windows-x86-mingw530-5.7.0
- Double-click qt-opensource-windows-x86-mingw530-5.7.0 to begin installation.
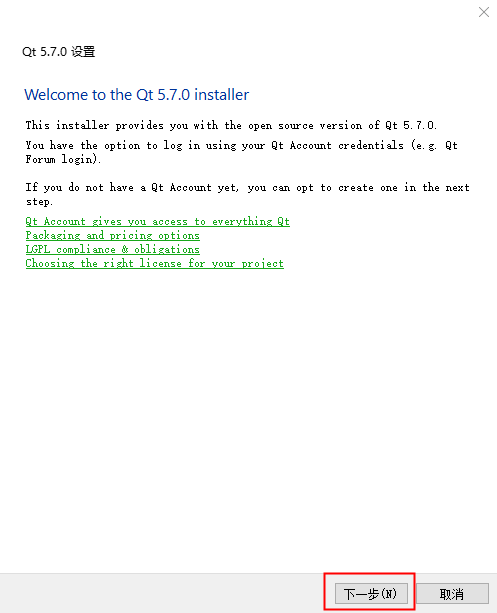
- Click Next, enter the login interface, click Next. If you don't have an account, register at Sign-up.
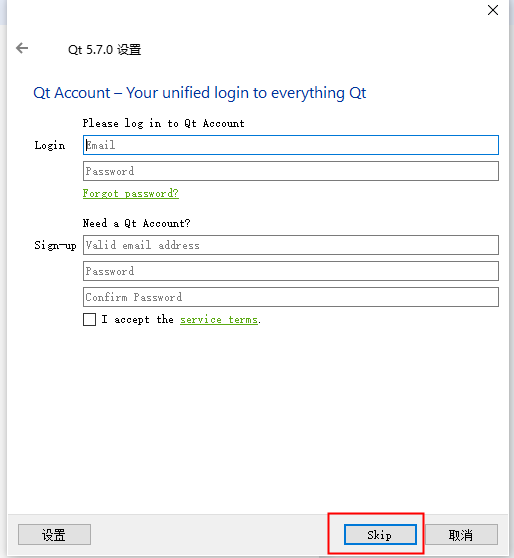
- After registration, click Skip.
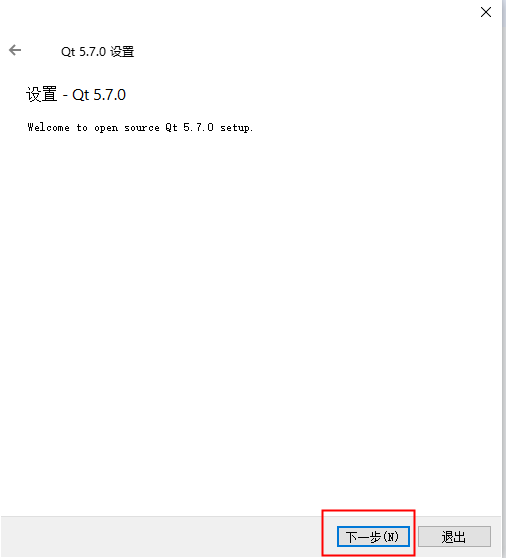
- Keep clicking Next, enter this interface and select the first option.
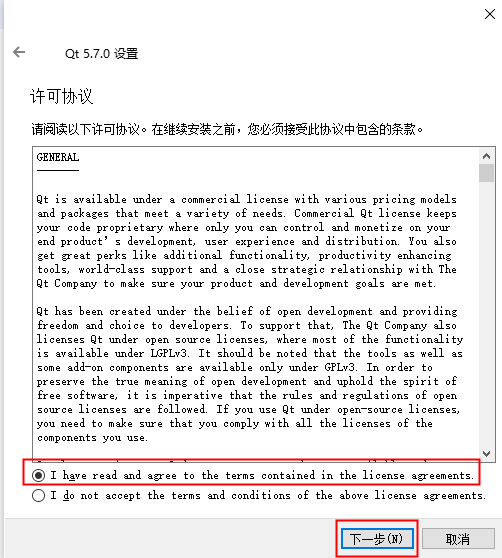
- Keep clicking Next, enter this interface and click Install.
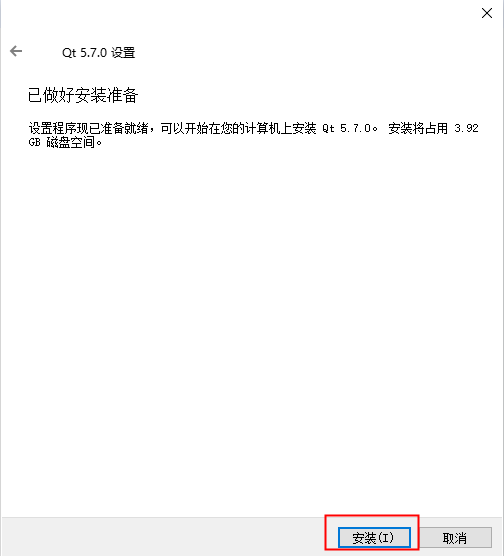
- Installation in progress, approximately a few minutes, please wait patiently.
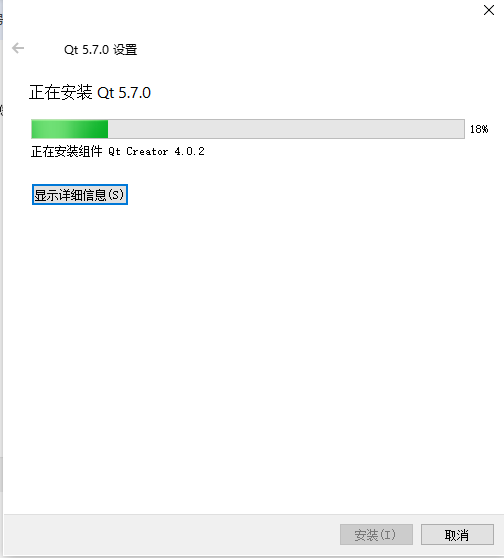
- Installation complete.
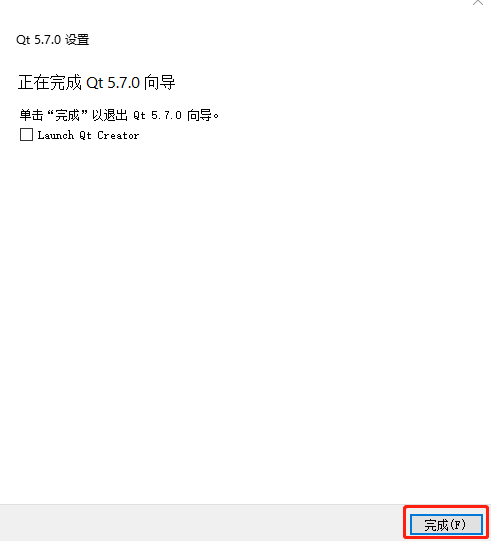
Using Linguist for Translation
- Open Linguist, drag the source file tp_en.ts to be translated into the main window.
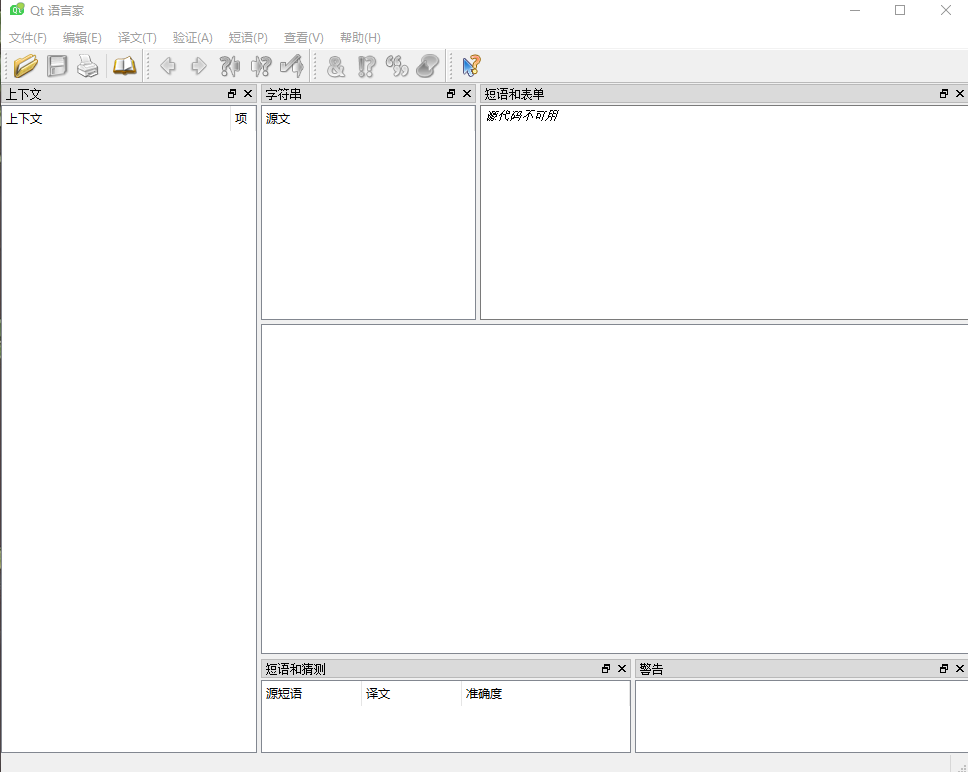
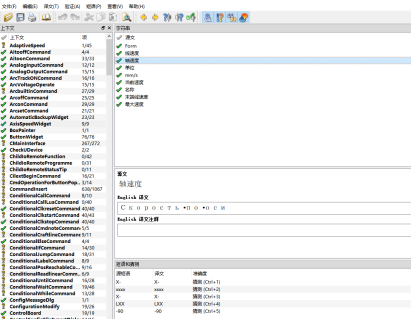
- Translate entry by entry in the right-side list:
- Enter the corresponding translation in the Translation input box.
- The status bar shows translated count/total (e.g., 8368/13228).
- After verifying the translation is correct, click the ✅ (Verify Complete) icon in the top toolbar to mark the entry.
Tip: If a ? appears next to an entry, it means the entry is untranslated or has a syntax conflict. Please check and complete.
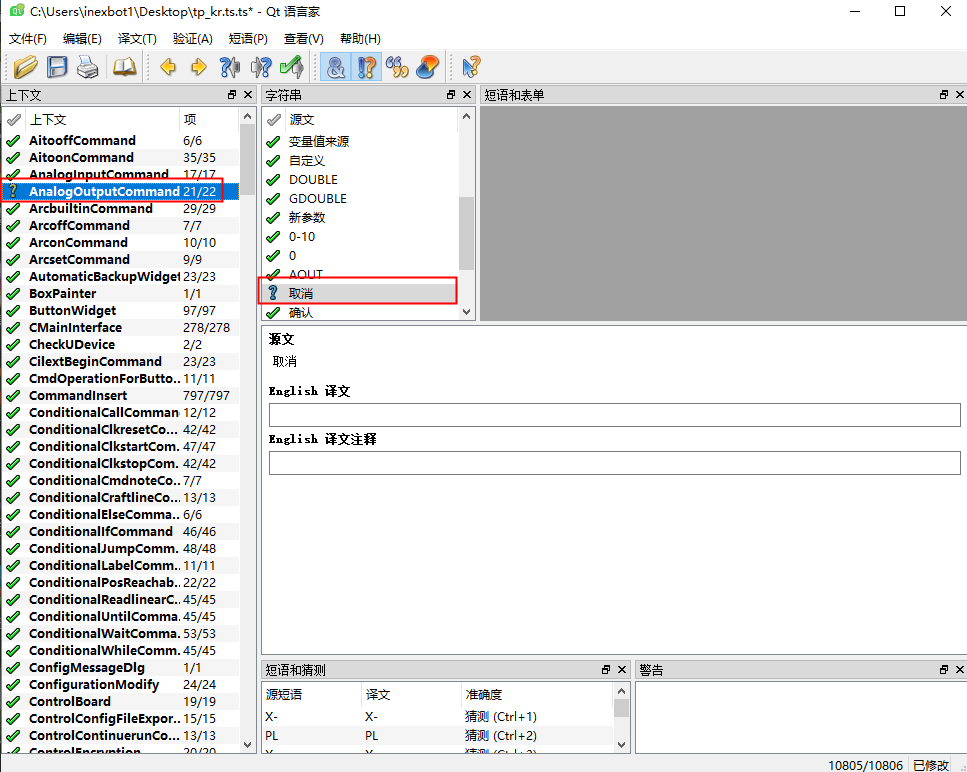
- After all translations are complete, click File → Save (or Save As) in the menu bar. The file remains in .ts format for backup.
Compilation, Packaging, and Upgrade
Release Compilation: Click File → Release (or Save As Release) to generate the compiled binary language file tp_en_US.qm.
Rename: Rename the generated .qm file according to system conventions, e.g.: tp_language_Russian.qm.
Package and Upgrade:
- Compress the .qm file to .zip format (the archive must directly contain the .qm file without extra folders).
- Follow the Section 1.1 steps to copy the archive to the USB drive root directory, and complete the import and activation through the teach pendant Settings → System Settings → Version Upgrade.
Important Notes
| Item | Description |
|---|---|
| File Format | .ts is an XML source file, .qm is a compiled binary file, .json is a controller message dictionary. Do not confuse them. |
| Naming Convention | Controller JSON naming: msg_languages_<LanguageName>.json Teach Pendant QM naming: tp_language_<LanguageName>.qm |
| Activation Condition | After all language switch operations, the teach pendant/controller system must be restarted to fully take effect. |
| Backup Recommendation | Before upgrading or modifying configuration, always fully back up the current system configuration and original language files. |
Frequently Asked Questions
Q1: How to determine if the language translation package was installed successfully?
A1: After the upgrade is complete, navigate to Settings → Teach Pendant Configuration and check if the target language option exists in the "Interface Language" and "Instruction Language" dropdown lists. If it exists and can be switched normally, the installation was successful.
Q2: Why do some interfaces still show the old language after switching?
A2: Possible causes and solutions:
- The interface language package was not fully upgraded. Please re-import the complete .qm file.
- The teach pendant system was not restarted. Language switching requires a restart to fully take effect.
- Check whether both the teach pendant interface language and controller message language were upgraded.
Q3: What to do when Qt Linguist shows untranslated entries?
A3: If a ? appears next to an entry, it means the entry is untranslated or has a syntax conflict. Please check:
- Whether the entry has translation content filled in
- Whether the translation conforms to the target language grammar
- Ensure all entries that need translation are completed before saving and releasing.
Q4: What is the difference between controller message language and teach pendant interface language?
A4: The differences are as follows:
- Teach Pendant Interface Language: Refers to the language of system interfaces, menus, buttons, and other interface elements.
- Controller Message Language: Refers to the language of alarms, prompts, status messages, and other content sent by the controller.
- Both need to be upgraded separately and do not affect each other.
Q5: What should be noted when translating files?
A5: Please note when translating:
- Maintain the integrity of the JSON structure. Do not delete or modify the key field.
- Only translate the content of the value field.
- Special characters need to be escaped.
- It is recommended to use a professional text editor (such as VS Code) for editing to avoid format errors.
Q6: How to create a translation package for a custom language?
A6: Creation steps:
- Export the original language file as a template.
- Copy the file and rename it according to conventions (msg_languages_YourLanguageName.json).
- Use a text editor to translate all value fields.
- Import the configuration and restart the system.
- Select the new language in the teach pendant configuration to verify the result.